Tuesday, May 31, 2016

IHMN Dino Hunt!


This weekend past, I set up the table in the man cave, worked up some basic dino rules for In Her Majesty's Name and ran a quick dino-hunt for my friend Shane.

View of the field from the dino end
A basic road through the jungle. Brush is considered to extend back to the table edge.

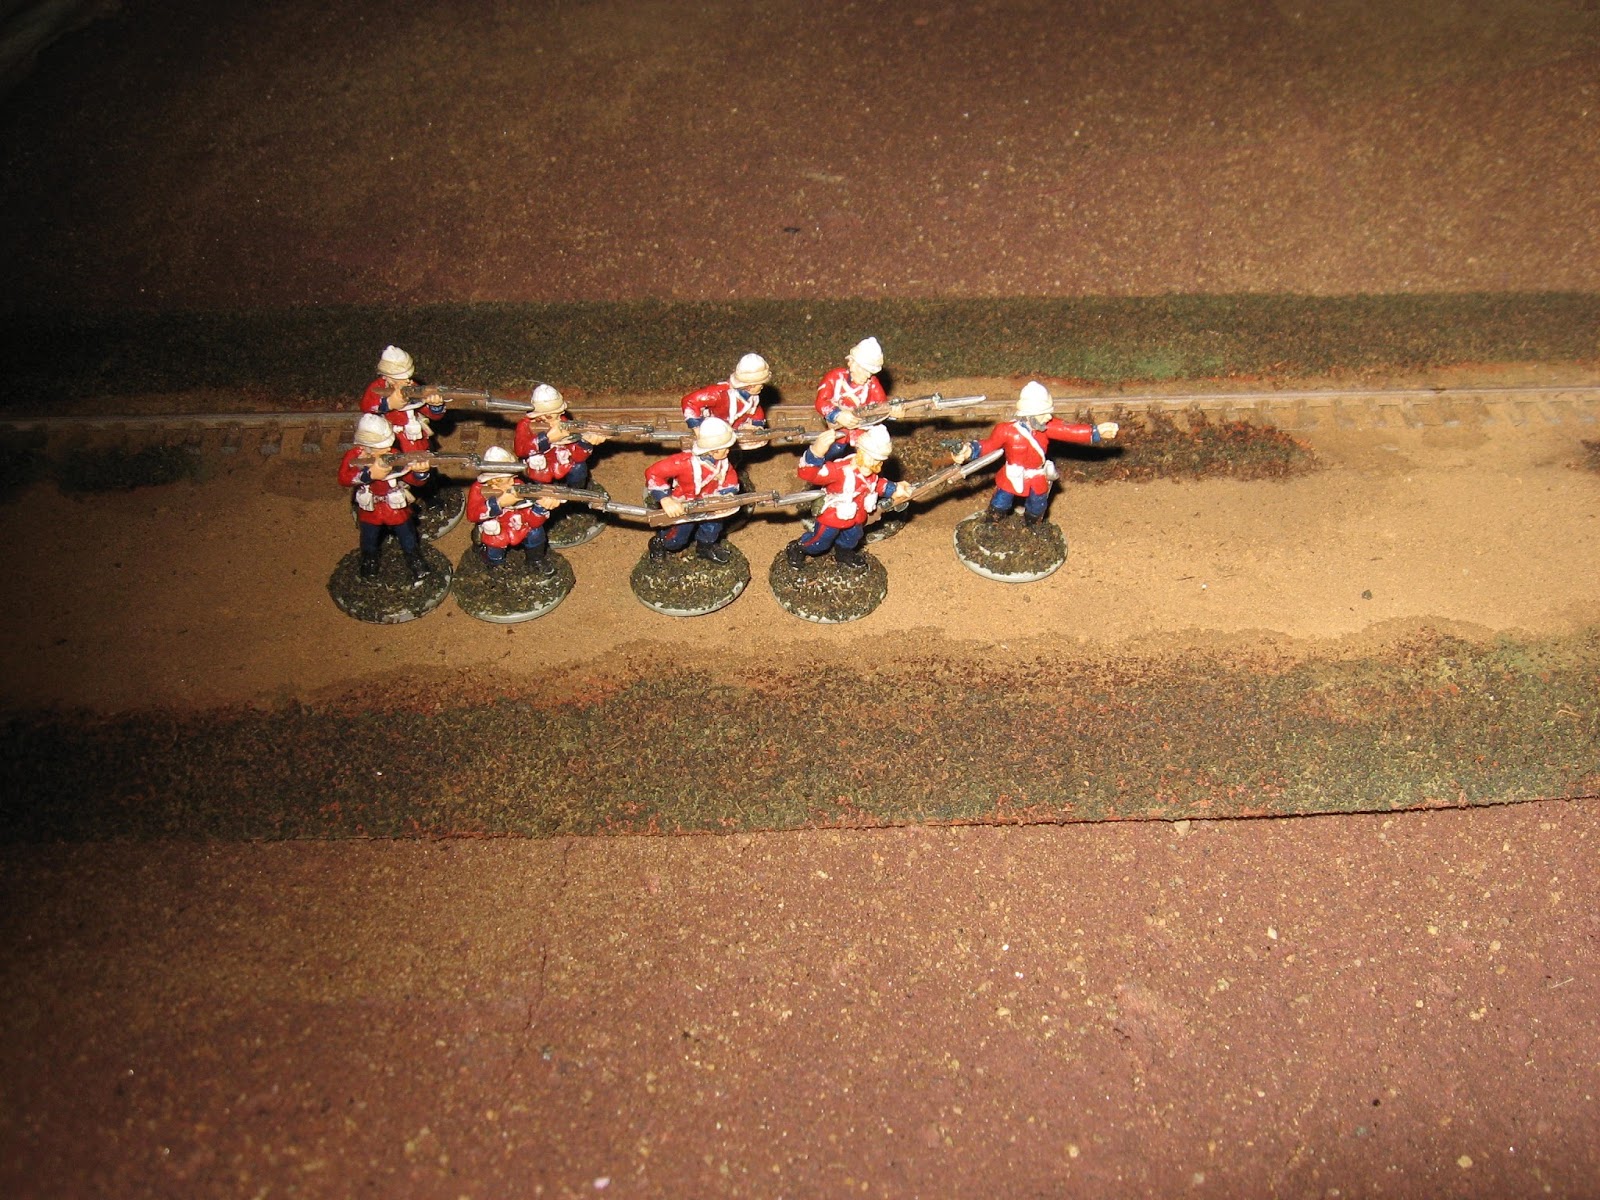
The hearty band of adventurers
Shane picked a group of figures he liked the look of and I transposed the stats for them from the basic rulebook. Hunter, gun slinger, lady adventurer, Brick Lane bomber - with explosive grenades, and an axe guy.
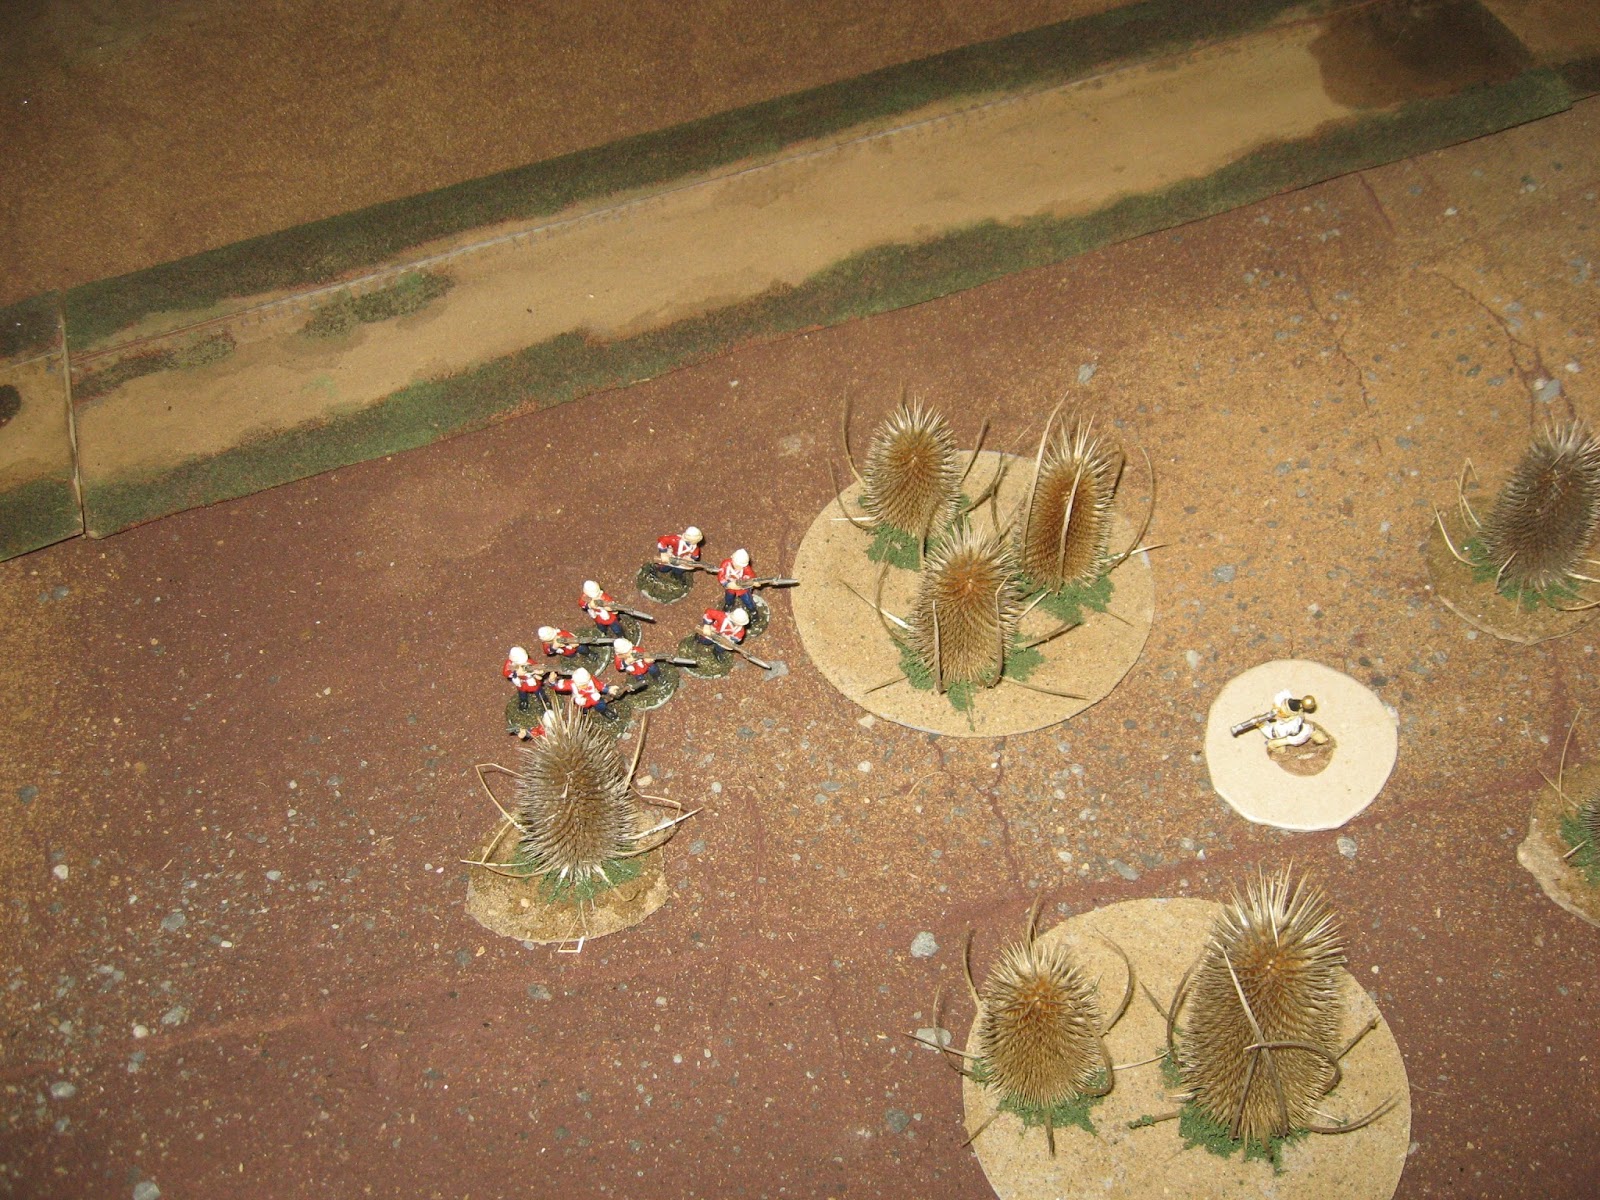
The Hunt Begins!
The party sets off.  I had some very basic rules for encounters - 1 or a 2 on a D6 for a dino to appear with type coming from a fudged Venus encounter chart in the Space 1889 RPG rule book.

Rawr? Herbivore prey in sight
The first behemoth pokes his head out of the brush.

Bang!
The hunter fires, hits but the massive lizard makes his pluck roll. This was to be a pattern for the rest of the game.  Making dinosaurs armour light and pluck heavy gives the right feel.

That's not very nice! RAWR!
The dino charges and the lady adventurer counter charges! (Must be a follower of Mrs. Pankhurst)

Bang!
Seeing a lady in distress, the hunter fires again and the dino takes one in the cranium.

What'cha doing?
Mean while a Steggie wonders what all the noise is about. While reading up on various dinosaurs, I noted that current thinking is that the plates of the stegosaurus were used for signalling emotional state. I chose to interpret this as the  Clouding Men's Minds power which shuts down all shooting. This may be a bit too powerful but it prevents a complete walk over by the gun carriers.

An Oops! and a Boom!
The Brick Lane boy rushes in and fails his grenade throw.

Deploy the Thagomizer!
Steggy prepares to retaliate against the un-armoured human. Yes, "thagomizer" is the accurate technical term.

Charge!
And the party charges in to close the range.
Swing and a miss!
The Steggy hits but the street ruffian manages to duck under the whistling spikes!

I don't like this!
The Steggy thinks better of the situation and takes off.

Run Away!
And keeps going.....

Follow the Yellow Sand road!
The party heads back out, short a specimen.

Soft, what teeth o'er yonder hill top break?
Only to meet a pair of Velociraptors!

Rawr^2!
Who promptly charge in coming up a little short. The bomber responds but her ladyship can't quite make it.

Bang, Bang, Bang!
Everyone opens up...

And one goes down!
Taking down one of vicious critters. Sadly it's sibling comes up short and snapping teeth fail to connect.

The noise police return.
Steggy wanders back.  This noise is disturbing his grazing and simply must stop!

Crack!
Firing past the head of the Brick Lane boy, the hunter takes out the last raptor.


Deploy Thagomizer! (again)
The Steg charges in...

Another Swing another Miss - Babe Ruth he ain't
and fails, falling to a hail of bullets from the gun slinger.


The road goes ever on...
The Hunt continues.


Fee, Fi, Fo Fum!
What's that noise in the woods?! Could it be....

Nom, Nom, Nom....
The Terrifying T-Rex charges in as fast as a horse and takes a snap at the Hunter....

Eeeeeeek....!
whose pluck isn't that plucky and takes off screaming like a little school girl - the shame - I mean attempts to open the distance for a ranged attack.

By my reading of the rules at the time, the T-Rex did not follow up.  While I wait and see what the IHMN consensus is, for future games I will house rule that unintelligent terrifying creatures must follow up to the extent of their move, intelligent ones may if they wish.

Her ladyship sneaks in for a rear attack.

So embarassing.....
The T-Rex swings his mighty tail to bat the female ape creature away - and fails rolling a "1". Rolling for a critical failure, and failing again with a second "1", the force of his swing over balances the mighty lizard and drops him in the dirt.

RAWR!
Next turn he pops back up and attempts to gnaw on the lady ape...

Eeeeeek....!!! round two
who fails her pluck roll and runs screaming like a un-manned hunter into the bush.

Raaaawr!  I can do this I know I can!
The T-Rex runs on the gunman again, who runs again leaving the lizard open to a rear attack.

Denied and the axe falls.
The axeman jumps in and with one mighty swing to a very sensitive spot, drops the lizard in its tracks.

The butcher's bill.....
A successful hunt complete. Lots of tweaks to make but it was a good game overall with several points where the humans were in serious danger.


Tuesday, May 17, 2016

Test Game - Martian Messiah

After getting all my toys out I decided to run a test game of Soldier's Companion. I chose scenario 1 from the book: Martian Messiah. This is a fairly classic search and destroy mission with a platoon of British sweeping the area of a Martian village looking for a native ne'er do well: Sootaman the Impressive.

Sootaman and a small band of followers have been wreaking havoc on the monorail line. A small force must be sent to flush him out. Sootaman has other ideas - he hopes to eliminate the impudent earthers and score an important moral victory.

British Forces:

Lieutenant Atkinson, Sergeant Meriwether and their platoon of hearty souls. 
The British get one platoon of infantry or ten men total rated regular V1. Now the scenario didn't specify exactly what weapons the platoon was carrying so since they had Lee-Metfords molded on that is what I gave them. This will have implications later on.

Martian Forces:

Sootaman and his bodyguards - the Spine Forest Freedom Fighters
The Martians get a full war band of 19 split as usual between cutters and shooters.  The shooters have rifle muskets.  Sootaman on the right is considered to be musket armed as well and the entire force is rated X3.

Victory Conditions:

The British must capture or kill Sootaman and successfully return him to base. The Martians must wipe out the British, and keep Sootaman free.

The Game:

Since I was playing solo, markers were laid out in the main areas of cover. One of these was marked to show the location of Sootaman. As each marker was flipped, a simple randomizing table was used to determine what forces were there. The Sootaman counter would always have at least one half company with him.  

Initial setup:

In the starter's blocks
The British  began in column ready to head out on the hunt. The Martians begin concealed.

Turns -1 to 0

Martian win the initiative roll twice even with the British getting a +1 due to being regular.  The Martians hold, The British brew up. 

Turn 1


Tally Ho!
Finally the dice roll in favour of the Empire and the platoon heads up the road moving 18" in column.

Turn 2

Form Line!

Prepare for contact!
Again gaining the initiative, the platoon takes a half move into line and heads 6" towards the first marker. Being V1, they can only see 5" into concealing terrain so are a few inches short and can't Flip it.


Turn 3

Beat the bushes lads!
Another initiative to the British. They move to contact....


There he is!
And flush out Sootaman....

Kill the Red Men!
And some of his friends! The Martians deploy en masse around their fearless leader and musket fire rattles through the spine trees. Nine figures in the unit but mass formation means only the front 5 fire and since they are firing muskets, those five are halved to 2.5 and rounded up to 3. They roll no hits and the Red Men easily pass the morale test

Turn 4

The dice gods are with the British, they keep initiative....

So many dice....
And fire into the brush.  Atkison knows his pistol won't reach so instead shouts at his men to Fire! Nine men with magazine rifles firing at short range is 18 dice and they give six hits. The Martians would get +1 for light cover but they also get -1 for being in mass so no saving throws required. (Bad formation choice. The Martian commander needs to go back to junior leader school I think.)

Bloody carnage.....
Six Martians fall including Sootaman and the commanding bannerman. Now here I made an important error or two. When regulars take casualties, half come from NCOs not so for irregulars. For both regulars and irregulars, officer casualties are rolled for (over the number of casualties taken to save, a moot point here) with officer casualties replacing an NCO or regular casualty. Either way, Sootaman or the bannerman should have survived.


True Martian Bravery!
With six hits taken, the Martians must roll 3 or less or they break and run but they pass! They fire back but with only two dice there is no effect. Since their leadership has (wrongfully) been destroyed, they surrender to the British not wanting to run and be shot down like sand weasels.

Turn 4


Into ignominious captivity
The victorious forces of the empire police up their captives and prepare to return home.

Too far to help...
To see if the other half company could have intervened, I rolled to see where they would show up.

Just beyond charge range....
As it turned out, they were just out of reach. With no ranged weapons, a running fight was a pointless waste of life and the remaining bannerman decided to melt back into the temple ruins.

RTB victorious.

End game.
As a game to refamiliarize myself with the rules it was a good one. Obviously the magazine rifles were too much, in the fluff only Guards have them. More thought should have been given to the Martian deployment and formation. A better and more intelligent automated solo play system will have to be worked on.

Game 2 


A different result
Just as I was packing everything away, my friend Marc showed up so we reset the table. and ran the same scenario again. This time, the British were hit with close combat but managed to break off just enough to shoot the cutters off the field. The shooters sadly were just out of range so could not immediately contribute. Stout souls that they were they charged in anyway but were eventually shot apart. In the end Sootaman and the remaining band officer tried to flee only to fall under a hail of lead. But Mars had struck a blow killing nearly half of the invaders. At the end of a very long supply line, Britain cannot afford Pyrrhic victories like this one.